
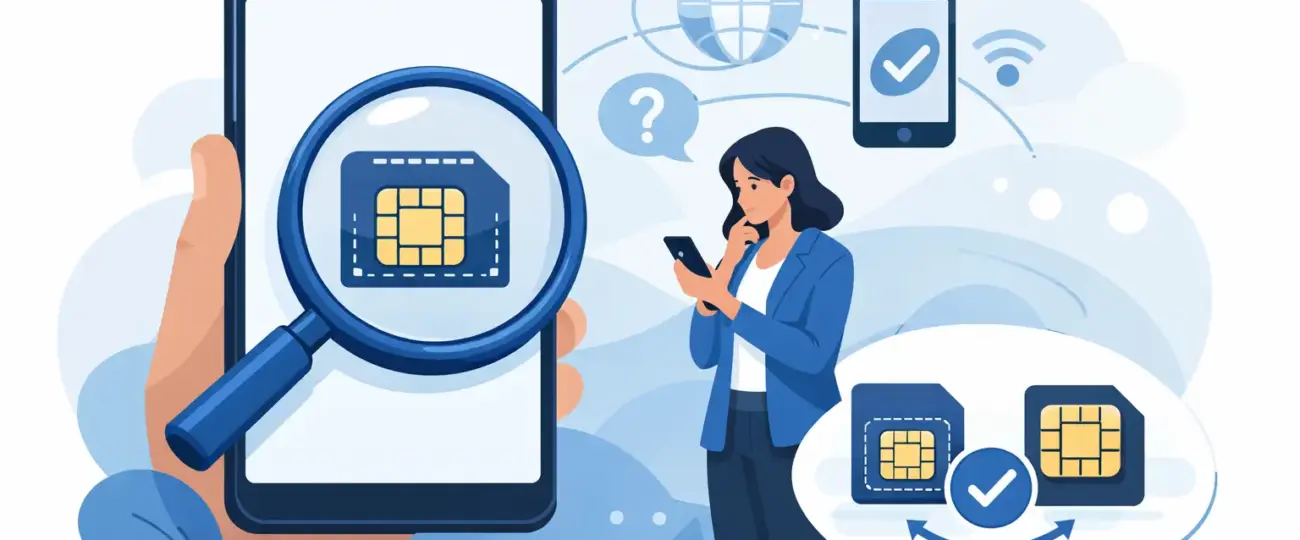


You do not want to discover your phone is not eSIM-ready while standing in an airport trying to get online. If you are wondering how to check eSIM compatibility before a trip, the good news is that it usually takes just a few minutes and can save you from a lot of avoidable hassle.
For most travelers, the question is not just whether the phone is new enough. It is whether the exact device, carrier status, and software setup all support eSIM. That distinction matters because two phones that look identical can behave very differently if one is locked, tied to a specific region, or running outdated software.
The fastest way to check is to confirm three things: your phone model supports eSIM, your device is carrier-unlocked, and your software is up to date. If one of those pieces is missing, eSIM may not activate even if the phone itself technically supports it.
This is where many travelers get tripped up. They search their model online, see that it supports eSIM, buy a plan, and assume they are set. Then they find out their phone was purchased through a carrier and cannot add a second mobile plan yet. A compatibility check should always include both hardware support and network freedom.
On iPhone, open Settings, then General, then About. Look for the Model Name and Model Number. Most newer iPhones support eSIM, but support can vary by country and model version. In general, iPhone XR and newer models support eSIM, while some mainland China models may not support eSIM in the same way as US versions.
On Android, open Settings and look for About Phone or About Device. The exact menu names vary by brand. Google Pixel, Samsung Galaxy, and some newer Motorola and other Android devices support eSIM, but not every version does. With Android, the model number matters even more because brands often release similar phones with different regional features.
If you bought your device outside the US or through a local carrier, take an extra minute here. Regional variants can change eSIM support, even when the phone name sounds identical.
A practical second check is to see whether your phone shows an option to add an eSIM or mobile plan.
On iPhone, go to Settings, then Cellular or Mobile Data. If you see options such as Add eSIM, Add Cellular Plan, or a way to scan a QR code, that is a strong sign your device supports eSIM.
On Android, go to Settings, then Network and Internet, Connections, or SIM Manager depending on the brand. If you see Add eSIM, Download SIM, or Add Mobile Plan, your device likely supports eSIM.
This method is useful because it checks the phone itself, not just a product page. Still, it is not perfect. A phone can display eSIM options and still be blocked by a carrier lock.
If you only check device support and skip carrier lock status, you are only halfway done. An eSIM-compatible phone that is carrier-locked may not work with a travel data plan from another provider.
On iPhone, go to Settings, General, About, then scroll to Carrier Lock. If it says No SIM restrictions, your iPhone is unlocked. If it shows a carrier limitation, contact your provider before travel.
On Android, the process depends on the manufacturer and carrier. Some phones show lock status under network or SIM settings, but many do not make it obvious. In that case, your safest move is to check your carrier account or ask your provider directly whether the device is unlocked for use with other networks.
There is a trade-off here. Phones bought directly from Apple or major manufacturers are often simpler to use with travel eSIMs. Carrier-financed phones can cost less upfront, but they may add activation limits that show up at the worst time.
For iPhone users, compatibility is usually straightforward. Most recent US iPhones support eSIM, and newer models are increasingly built with digital SIM use in mind. In settings, look for Cellular and the ability to add a plan. Then confirm the phone is unlocked.
Make sure iOS is updated before you travel. Even when eSIM is supported, older software can create setup friction or prevent proper activation. If you are leaving soon, update while you still have reliable Wi-Fi and time to troubleshoot.
The main issues are carrier lock, region-specific models, and confusion between dual SIM support and eSIM support. A phone may support dual SIM, but that does not always mean two eSIMs can be active in every configuration. For most travelers, this only matters if you plan to keep your home line active while using travel data abroad.
That setup often works well, but it depends on your model and current carrier settings. If you want to use your regular number for calls or texts while running data on an eSIM, it is smart to test the settings before departure.
Android takes a little more attention because the menu path and support level vary by brand, model, and country. The easiest way to check eSIM compatibility on Android is to open settings and search for eSIM. If your phone supports it, the search result usually brings up SIM management or mobile network options.
Samsung users should look in Settings, then Connections, then SIM Manager. Pixel users can check Settings, then Network and Internet, then SIMs. Other brands may place it under Mobile Network, Cellular Network, or a similar menu.
The biggest issue on Android is model variation. One version of a Galaxy or Pixel may support eSIM, while another sold through a specific region or carrier may not. That is why a generic search like “Does Galaxy S21 support eSIM” is less reliable than checking your exact model in your own settings.
Software also matters. Android devices with older updates may show limited eSIM controls or fail during activation. If your phone supports eSIM, updating the operating system before installation can prevent unnecessary setup problems.
If you want extra confirmation, you can dial *#06# on many devices. On some phones, this displays both IMEI and EID numbers. The EID is tied to eSIM capability. If you see an EID listed, that is usually a strong indicator your device supports eSIM.
Not every phone displays this in the same way, so do not treat it as your only check. Think of it as a useful supporting signal, especially if the settings menu is unclear.
You should also make sure your phone can connect to the networks used in your destination. eSIM compatibility and network compatibility are related but not identical. A phone may accept an eSIM but still deliver weaker service if it does not support the local frequency bands well. For most modern US smartphones, this is less of a problem than it used to be, but older or budget devices can still run into limitations.
Sometimes everything looks close, but not certain. Maybe your phone shows eSIM settings, but your carrier status is vague. Maybe you bought the phone overseas and the model number is unfamiliar. That is the moment to pause before purchase.
A few minutes of checking is better than buying the wrong plan in a rush. If you are comparing providers, look for setup guidance that explains device requirements clearly and keeps activation simple. That is especially helpful for first-time users who want to buy, scan, and connect without extra troubleshooting.
If you use eSimple Pro or a similar travel eSIM service, the smoothest experience usually comes from checking compatibility at home, installing before departure, and activating when you arrive. That gives you time to fix issues while you still have stable internet and support options.
Before you buy a travel eSIM, confirm your exact phone model, check that eSIM appears in settings, make sure the device is unlocked, and update your operating system. If you plan to keep your home SIM active, verify your phone supports the dual-SIM setup you want.
That may sound like a lot, but it is really a five-minute check. And it is one of the easiest ways to avoid roaming charges, setup delays, and the scramble to find Wi-Fi after landing.
The best travel connectivity is the kind you do not have to think about once the plane lands. A quick compatibility check now gives you that head start.
 North eSIM
Price range: 1.78 € through 56.45 €
North eSIM
Price range: 1.78 € through 56.45 €
 eSim Bahrain
Price range: 1.75 € through 55.43 €
eSim Bahrain
Price range: 1.75 € through 55.43 €
 eSim Bahamas
Price range: 5.80 € through 183.93 €
eSim Bahamas
Price range: 5.80 € through 183.93 €
 eSim Azerbaijan
Price range: 1.75 € through 60.28 €
eSim Azerbaijan
Price range: 1.75 € through 60.28 €
 eSim Australia
Price range: 1.25 € through 65.98 €
eSim Australia
Price range: 1.25 € through 65.98 €
© 2026 Esimple. All rights reserved by Cubixsol

 Written by