
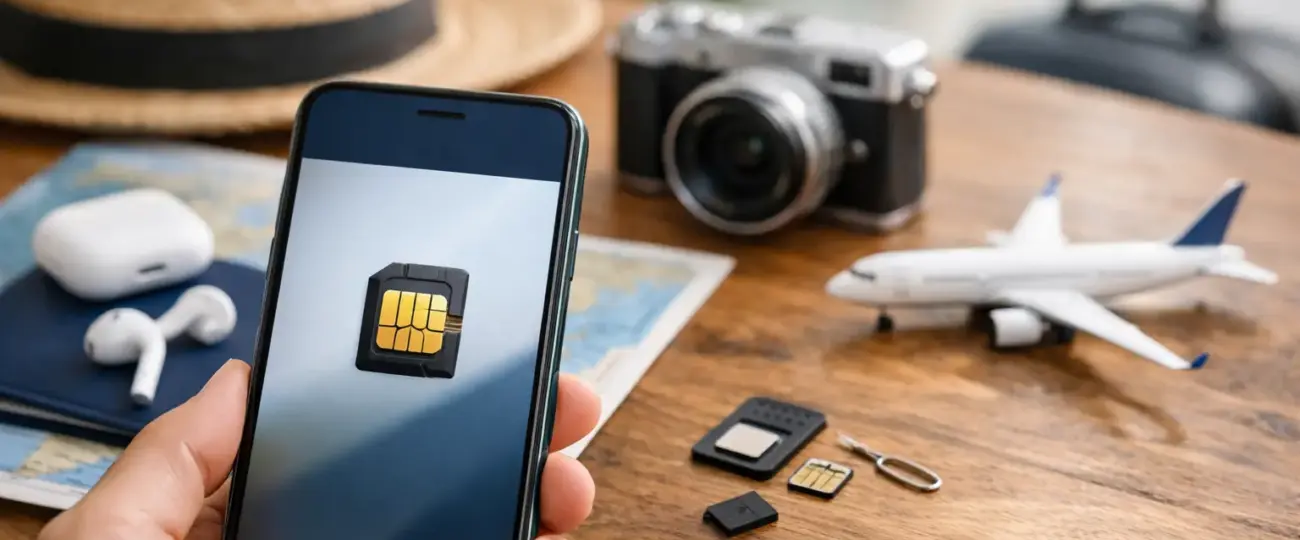


Airport Wi-Fi is often slow, public, or unavailable exactly when you need your boarding pass, hotel address, or ride pickup details. A travel eSIM lets you set up mobile data before you leave, so your phone is ready to connect when you arrive. This travel eSIM setup guide explains what to check, when to install, and which settings prevent the most common connection issues.
An eSIM is a digital SIM built into many newer phones, tablets, and some laptops. Instead of inserting a plastic card, you add a mobile plan by scanning a QR code or entering activation details manually. Your primary number can usually stay active on your regular SIM while the eSIM handles travel data.
Before you buy a plan, confirm two things: your device supports eSIM and it is carrier-unlocked. A phone may be recent enough to support eSIM but still be locked to the carrier that sold it. If it is locked, it may reject a travel eSIM even though the installation steps look normal.
On an iPhone, look in Settings, then General, then About. Under Carrier Lock, you want to see “No SIM Restrictions.” You can also check whether the device has an available eSIM section under Settings, Cellular or Mobile Data. On many Android phones, open Settings and look under Network & Internet, Connections, or SIM Manager. Menu names differ by manufacturer, so the key is finding an option to add an eSIM.
Your destination matters too. Choose a country plan if you are staying in one place, a regional plan if your trip crosses nearby borders, or a global plan if your route is more varied. A regional plan can be simpler for a Europe or Southeast Asia itinerary, but always check that every country on your route is included. Regional coverage is not the same as coverage across an entire continent.
Data needs depend less on trip length than on how you use your phone. Maps, messaging, email, ride apps, restaurant searches, and occasional social media typically use a modest amount of data. Video calls, hotspot use, automatic photo backups, and streaming can consume a plan much faster.
For a short city break, a smaller plan can be enough if you use hotel Wi-Fi for larger downloads. For a work trip or a multi-week vacation, more data provides useful breathing room. If your travel style is hard to predict, choose a plan that offers top-ups. It is better to start with a realistic amount and add data later than pay for far more than you will use.
Also read the plan details before purchase. Some travel eSIMs are data-only, which means they do not include a local phone number, standard calls, or text messages. That is usually not a problem for travelers who use messaging and calling apps, but you should plan accordingly if you expect to receive SMS verification codes on a local number.
The best time to install an eSIM is while you still have reliable internet at home, in the office, or on hotel Wi-Fi before your next flight. Installation adds the plan to your device. Activation is when the plan begins connecting to a supported network, often upon arrival. These are related but not always the same thing.
After purchase, you will generally receive a QR code and installation instructions. Keep that email or confirmation available until the setup is complete. Do not share the QR code publicly. In many cases, it can only be used once.
Open Settings, select Cellular or Mobile Data, then choose Add eSIM. Select Use QR Code and scan the code provided with your plan. Follow the prompts to add the cellular plan.
Your iPhone may ask you to label the new line. Use a clear label such as “Travel Data” or the name of your destination. This small step makes it much easier to choose the correct line later, especially if you keep your home SIM active.
Open Settings and go to Network & Internet, Connections, or SIM Manager. Look for Add eSIM, Add Mobile Plan, or a similar option. Scan the QR code and follow the on-screen instructions.
If the camera does not scan the code, look for an option to enter activation details manually. Your confirmation email may include an SM-DP+ address and activation code. Manual setup takes a little longer, but it is a normal backup option.
Do not delete the eSIM after installation unless customer support tells you to do so. A deleted eSIM may not be recoverable with the same QR code. If you are setting up early, leave the travel line turned off until your departure date if your provider instructs you to activate only after arrival.
Installation alone does not guarantee that your phone will use the new plan. Before travel, check your mobile data settings and make the travel eSIM your selected data line when you are ready to use it.
On iPhone, go to Settings, Cellular or Mobile Data, and select Cellular Data. Choose your travel eSIM. Turn off “Allow Cellular Data Switching” if you want to prevent your phone from quietly using your home line when the travel signal is weak.
On Android, open SIM Manager or Mobile Network settings and set the travel eSIM as the preferred SIM for mobile data. Depending on the device, you may also need to turn on the eSIM line separately.
Data roaming is the setting that causes the most confusion. For most travel eSIMs, data roaming must be turned on for the travel eSIM because the plan connects through partner networks abroad. Turn roaming on only for the travel eSIM. Keep data roaming off on your home SIM to avoid unexpected charges from your regular carrier.
If your provider supplies an APN setting, enter it exactly as shown in the installation instructions. Many plans configure this automatically, but an incorrect or missing APN can stop data from working even when your phone shows signal bars.
Once you arrive, turn on the travel eSIM and disable Airplane Mode after the aircraft doors open and it is safe to use your phone. Give the device a few minutes to find and register on a local network. A restart can help if it does not connect right away.
First, check that mobile data is assigned to the travel eSIM. Next, confirm that data roaming is enabled on that line. Then open a browser or map app to test the connection. Do this before you leave the airport Wi-Fi, not when you are already trying to find your hotel.
If service still does not work, try these checks in order:
Avoid repeatedly deleting and reinstalling the eSIM as a first fix. The issue is more often a data-line selection, roaming setting, or network registration delay.
Dual-SIM capability is one of the biggest advantages of travel eSIMs. You can keep your regular SIM available for calls or verification texts while using the eSIM for data. The trade-off is that your home carrier may still charge for calls, texts, or roaming if that line remains active.
A cautious setup is to leave your home line on for necessary SMS messages, turn off its data roaming, and use the travel eSIM for all mobile data. If you do not need your home line at all, turning it off can provide extra peace of mind. Wi-Fi calling behavior varies by carrier and device, so do not rely on it for essential communication without testing it before departure.
Mobile data disappears quickly when apps update in the background or photos sync automatically. Before takeoff, download offline maps, boarding passes, playlists, translation languages, and key reservations. Then set photo backup, app updates, and large downloads to Wi-Fi only.
Use your phone’s data tracking feature to monitor consumption during the trip. If you are close to your limit, switch to Wi-Fi for video and backups, reduce streaming quality, and turn off hotspot sharing. A top-up is useful when you need it, but a few simple settings can keep you from needing one sooner than expected.
eSimple Pro plans are designed for the straightforward version of this process: choose your destination, install before you travel, and connect when you arrive. Save your setup email, check your settings before takeoff, and your phone can be one less thing to solve after landing.
 North eSIM
Price range: 1.78 € through 56.45 €
North eSIM
Price range: 1.78 € through 56.45 €
 eSim Bahrain
Price range: 1.75 € through 55.43 €
eSim Bahrain
Price range: 1.75 € through 55.43 €
 eSim Bahamas
Price range: 5.80 € through 183.93 €
eSim Bahamas
Price range: 5.80 € through 183.93 €
 eSim Azerbaijan
Price range: 1.75 € through 60.28 €
eSim Azerbaijan
Price range: 1.75 € through 60.28 €
 eSim Australia
Price range: 1.25 € through 65.98 €
eSim Australia
Price range: 1.25 € through 65.98 €
© 2026 Esimple. All rights reserved by Cubixsol

 Written by