
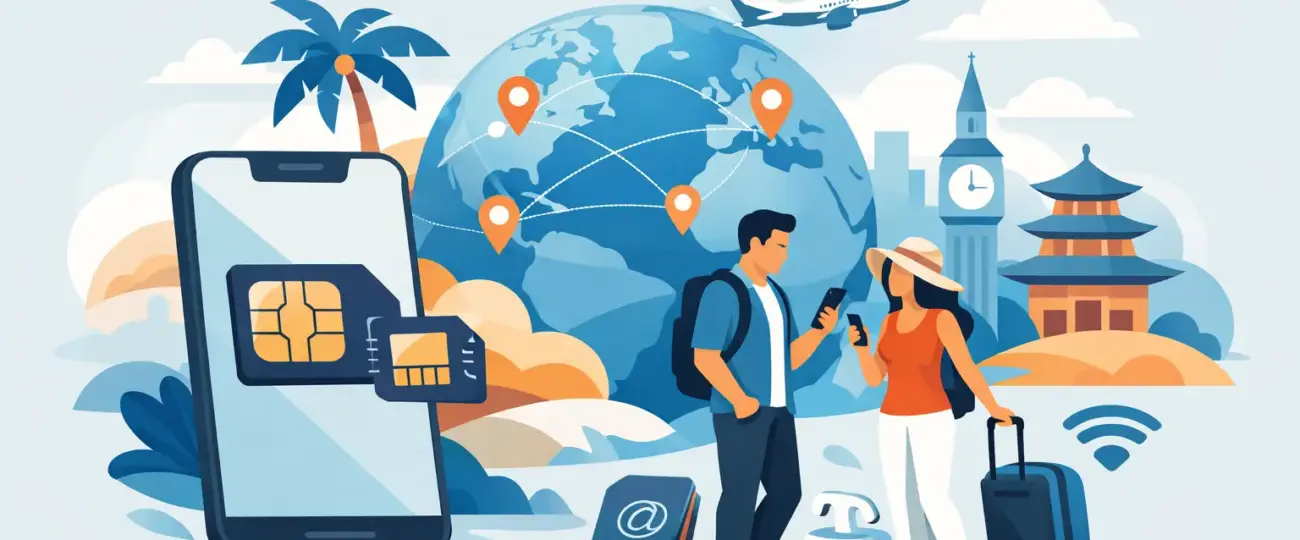


Landing in a new country is a bad time to troubleshoot your phone. If you are figuring out how to use eSIM abroad, the goal is simple: get data working fast, avoid roaming charges, and keep your regular number available if you need it.
That is exactly why eSIM has become the easiest option for travelers who want to buy a plan before departure, install it in minutes, and connect as soon as they arrive. No store visit. No paperclip. No swapping out a tiny plastic SIM card at the airport.
Using an eSIM abroad is usually easier than people expect. The process comes down to four parts: make sure your phone supports eSIM, buy the right plan, install it before your trip, and adjust a few phone settings when you land.
Most newer iPhones, Samsung Galaxy devices, Google Pixel phones, and other recent models support eSIM, but not every version does. Carrier-locked phones can also cause problems, even if the device itself supports eSIM.
Before you buy anything, confirm two things: your phone has eSIM capability and it is unlocked for international use. This matters because a locked phone may only work with your home carrier. If that is the case, the eSIM will not activate correctly abroad.
This is where travelers can save money or overspend. A country-specific plan is often the best value if you are staying in one place. A regional plan makes more sense if you are moving between several countries. A global plan can be useful for longer trips or mixed itineraries, but it is not always the cheapest option.
Think about how you actually use data. If you mainly need maps, messaging, ride-share apps, and some browsing, a smaller package may be enough. If you plan to hotspot your laptop, upload videos, or work remotely, give yourself more room. Running out of data on day three of a two-week trip is annoying, but buying far more than you need is not efficient either.
Most travel eSIM plans are delivered digitally. After purchase, you usually receive a QR code or manual installation details. It is smart to do this while you still have stable Wi-Fi at home, in your hotel, or at the airport.
On most phones, installation takes a few minutes. You scan the QR code, confirm that you want to add a cellular plan, label the line if you want, and save it. The exact menus vary by device, but the flow is generally straightforward.
Do not wait until after landing unless you have a reliable backup connection. If the airport Wi-Fi is weak or unavailable, setup becomes harder than it needs to be.
After installation, your phone may still default to your primary SIM for mobile data. That is where people get caught by roaming charges.
When you land, go into your cellular settings and choose the travel eSIM as your data line. If your phone has a setting for data roaming on the eSIM, turn that on if your provider requires it. At the same time, turn off data roaming on your home SIM unless you intentionally want to use it.
You can often keep your primary number active for calls or texts while using the eSIM for data. That is one of the biggest advantages of dual SIM travel. You get local or regional mobile data without fully disconnecting from your regular line.
In most cases, the eSIM activates either during installation or automatically when it connects to a supported network in your destination. Once your phone finds a partner network, you should see signal bars and 4G or 5G service within a few minutes.
If it does not connect right away, do not panic. Restarting the phone, toggling airplane mode on and off, or manually selecting a network can fix it. Sometimes the issue is not the eSIM itself. It is just the phone holding onto the wrong settings from your last carrier connection.
The biggest mistake is assuming installation and activation are the same thing. Installation means the eSIM profile is added to your phone. Activation means the plan is actually live on a supported mobile network. Some plans start immediately, while others begin only when you arrive. That difference matters if your plan has a fixed validity period.
Another common problem is buying the wrong coverage area. A traveler headed to France, Italy, and Spain may accidentally buy a single-country plan for just one destination. It works well for the first leg of the trip, then stops being useful at the border.
There is also the issue of primary SIM roaming. Even travelers who install their eSIM correctly sometimes leave roaming enabled on their regular line. One background app refresh later, and they are paying home-carrier rates. It takes less than a minute to check this setting, and it can save a lot.
Finally, some people expect every travel eSIM to include a local phone number for calls and texts. Many plans are data-only. That is perfect for travelers who use WhatsApp, FaceTime, Google Meet, Zoom, or other internet-based apps. But if you need a traditional number for voice service, make sure you check the plan details before buying.
For most travelers, yes, but it depends on the trip.
Roaming from your home carrier is convenient because you do not have to install anything new. The downside is the cost. International roaming rates can get expensive quickly, especially if you use data freely or stay abroad for more than a few days.
A local SIM can sometimes be cheap, but it comes with friction. You may need to find a store, show ID, deal with language barriers, and swap out your physical SIM. That is fine if you are staying in one country for a long time and want a local number. It is less appealing if you land late, move between countries, or just want your phone ready the moment you arrive.
Travel eSIM sits in the middle in the best way. It gives you more control over cost than standard roaming and less hassle than buying local SIMs on arrival. For short trips, work travel, and multi-country vacations, that convenience is hard to beat.
If your itinerary includes several countries, plan selection matters more than setup. A regional eSIM is usually the easiest option because it keeps you connected as you cross borders without needing a new installation each time.
That said, regional coverage is not identical across every provider. Some plans cover dozens of countries, while others include only the most common destinations. Always check the exact list before purchase.
For long or complex trips, flexibility matters too. A plan with top-up options can be more practical than starting over with a new eSIM profile every time you need more data. This is especially useful for digital nomads, business travelers, and anyone who cannot afford connection gaps between flights, train rides, or hotel check-ins.
Install your eSIM while you still have dependable internet. Take a screenshot of the QR code or setup details in case you need them later. Label your lines clearly so you can tell your home SIM from your travel eSIM. If your phone supports it, set the travel eSIM as your mobile data line before takeoff so you have less to do after landing.
It also helps to download offline maps and save key travel documents locally. Even with a good setup, there can be a short delay before the network connects. Having your hotel address, booking confirmations, and directions available offline removes stress from those first few minutes on the ground.
If you want the simplest possible setup, eSimple Pro is built around that buy, scan, and connect flow, which is exactly what most travelers need when time is short and reliability matters.
Using eSIM abroad should feel like one less thing to worry about. Once your phone is compatible, your settings are right, and your plan matches your trip, staying connected becomes the easy part. The best travel tech is the kind you barely have to think about after takeoff.
 North eSIM
Price range: 1.78 € through 56.45 €
North eSIM
Price range: 1.78 € through 56.45 €
 eSim Bahrain
Price range: 1.75 € through 55.43 €
eSim Bahrain
Price range: 1.75 € through 55.43 €
 eSim Bahamas
Price range: 5.80 € through 183.93 €
eSim Bahamas
Price range: 5.80 € through 183.93 €
 eSim Azerbaijan
Price range: 1.75 € through 60.28 €
eSim Azerbaijan
Price range: 1.75 € through 60.28 €
 eSim Australia
Price range: 1.25 € through 65.98 €
eSim Australia
Price range: 1.25 € through 65.98 €
© 2026 Esimple. All rights reserved by Cubixsol

 Written by